
Introduction
Buying a used laser marking machine is a great way to save on equipment costs, but pre-owned units often come with minor glitches, worn parts, or misconfigured software. Whether you just purchased a pre-owned fiber or CO₂ laser engraver, or you are testing a second-hand used laser marking machine before buying, here is a complete DIY repair guide to fix the 9 most common laser marking machine problems.
1: Laser Head Not Firing (No Laser Beam)
Press the “Test” button on the control panel and check the ammeter (current meter) status:
Case A: Ammeter shows NO current
- Power Supply: Verify if the main laser power supply unit (PSU) is turned on and receiving power.
- Cable Connections: Check if the high-voltage wire or signal lines are loose, disconnected, or damaged.
Case B: Ammeter shows NORMAL current
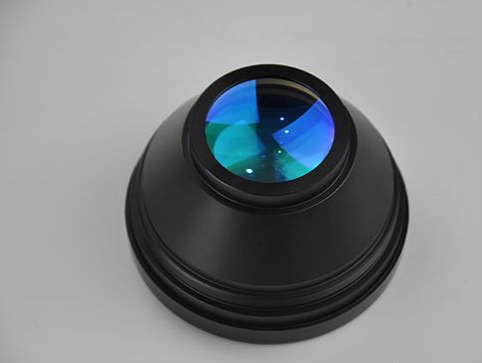
- Optics & Alignment: Check if the mirrors or focus lens are cracked or severely misaligned.
Case C: Water Chiller Check (Crucial for CO₂ Lasers)
- No Water Flow: Check if the water pump is broken, clogged, or unplugged.
- Water Flowing: Ensure the inlet and outlet hoses are connected correctly and not ruptured.
Note: If the machine passes self-test pulse shots but fails to fire when receiving computer data, check your software output configuration and communication ports.
2: Weak Laser Engraving or Inconsistent Marking Depth
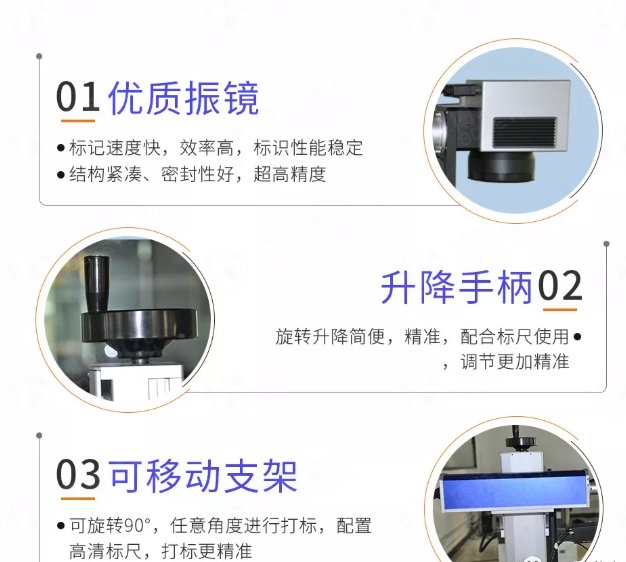
If your used laser fails to engrave deep enough or marks unevenly, check these core components:
- Water System: Ensure water flow is uninterrupted (check for kinked or cracked tubing).
- Focal Distance: Re-calibrate the focal length (Z-axis height) using a focus gauge.
- Optical Alignment: Re-align the optical path (mirrors and beam expander).
- Dirty/Damaged Optics: Inspect the field lens, focus lens, and mirrors for cracks or smoke buildup. Clean or replace if necessary.
- Mechanical Belts: Check if the X/Y axis gantry is parallel by adjusting belt tension on both sides.
- Water Temperature: Ensure coolant temperature is below 30°C (86°F). Overheated tubes drop in output power.
- Laser Tube Aging: Used machines often have degraded laser tubes nearing the end of their lifespan (typically 2,000–10,000 hours depending on the tube type).
- Loose Lens Mounts: Tighten any loose screws on the laser head or lens holder.
3: Laser Platform Reset and Homing Errors
When the machine fails to reset or home properly upon startup:
- Data Cables: Inspect the ribbon data cables for bad contact or physical wear. Re-seat or replace the cable.
- Limit Sensors: Dust build-up on optical limit switches/sensors often causes homing failure. Wipe sensors clean or replace faulty ones.
- Grounding & High Voltage: Ensure the machine is properly grounded. Interference from high-voltage cables can trigger false sensor signals.
- Stepper Motor: Check for loose wiring connections between the stepper motor and driver.
4: Laser Engraving Missing Lines or Skipped Elements
If the laser skips parts of your design during execution:
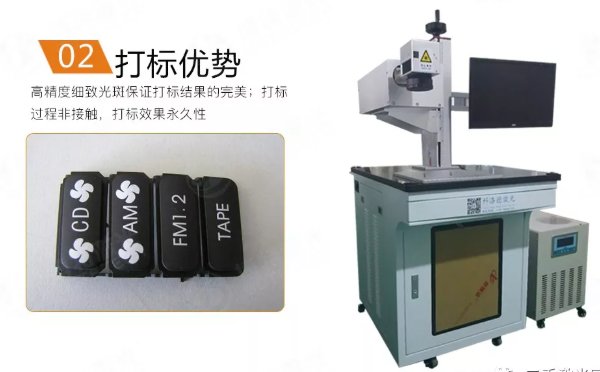
- Data Corruption: Re-send the file. Initial data transmission may have been interrupted.
- Computer Glitches: Reboot the host PC or test with a different computer.
- Static Interference: Ensure proper anti-static grounding on both the computer and the laser engraver chassis.
- Incorrect Operation Order: Verify layer processing order in software (e.g., mark inner graphics before outer cut lines).
5: Laser Vector Misalignment or Unclosed Paths (Ragged Edges)
If your cut paths or outline sweeps do not close or align correctly:
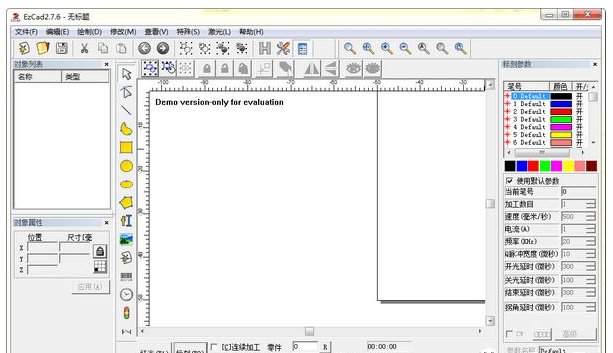
- Vector Design: Zoom in to maximum scale in vector design software (CorelDRAW/Illustrator/EzCad) to ensure vector nodes are snapped closed.
- Work Area Limits: Confirm your graphic elements do not exceed the machine’s physically defined workspace boundaries.
- Software Parameters: Double-check parameters like backlash compensation, scan step, and speed settings.
- OS & Driver Issues: Reinstall control software (e.g., EzCad, LightBurn, LaserDRW) and device drivers if registry files are corrupt.
6: Computer Fails to Output Data to Laser Machine
For any used laser marking machine, always allow the machine to complete its homing/reset sequence BEFORE hitting output.
- COM/USB Port Settings: Ensure the software output port (USB/COM) matches your hardware Manager settings.
- Serial Cable Test: Replace the serial cable, USB cable, or test on another PC.
- Mainboard Serial Failure: A damaged communication chip on the controller board (e.g., Ruida, BJJCZ mainboard) requires repair or replacement.
7: Laser Software Cannot Calculate Toolpaths
- File Format: Ensure vectors are imported in valid formats (.DXF, .AI, .PLT, .SVG).
- Calculation Method: Verify path generation settings (e.g., offset side, hatch spacing, tool diameter).
- Reinstall Software: Corrupt software libraries can prevent background math calculations. Clean uninstall and reinstall the application.
8: Laser Marking Advanced Settings Not Saving
If changing system settings (sysCfg or Laser.cn) has no effect:
- Remove Read-Only Attribute: Locate configuration files in your installation directory, right-click, open Properties, and uncheck Read-Only.
- Apply Configuration: Modify your machine parameters and save changes.
- Re-apply Read-Only: Re-check Read-Only to prevent accidental modification by operators.
9: Jagged Edges During Raster/Scan Engraving (Backlash Issues)
When raster engraving produces uneven, jagged borders (burrs or fringes), mechanical backlash is usually the culprit.
How to Fix Mechanical Backlash:
- Run a Test Grid: Draw a small rectangle. Set work mode to Engrave/Scan with a 0.5 mm line spacing.
- Inspect Output: Odd-numbered lines should align, and even-numbered lines should align. A slight offset between odd and even lines indicates reverse backlash.
- Adjust Reverse Compensation: Open Advanced Configuration in your software (e.g., DSP/EzCad/LightBurn). Locate the Reverse Compensation / Backlash Table and input the offset distance (in mm) corresponding to your current engraving speed. This is one of the most overlooked used laser marking machine calibration steps.
Used Laser Marking Machine On-Site Inspection Checklist
Before purchasing any used laser marking or engraving system, or before scheduling major maintenance, systematically inspect the following 6 core systems using this checklist. A “Pass” in all categories gives you confidence in your purchase decision; a “Fail” identifies negotiation points or deal-breakers.
| Component / System | Inspection Task | What to Look For / Pass Criteria |
|---|---|---|
| Laser Source & Tube | Request a live test fire at 100% power using a laser power meter. | Output power should meet at least 80–85% of rated capacity. Rapid power drops indicate tube degradation. |
| Optical Systems | Remove and inspect field lens, focus lens, and mirrors under bright light. | Lens surfaces must be free of burns, cracks, pinholes, or wiped-off anti-reflective coatings. |
| Linear Rails & Belts | Manually move the laser head along X/Y axes while powered off. | Movement should be smooth with no gritty resistance, play, or belt slack. |
| Control Board & Drivers | Check mainboard brand (e.g., BJJCZ, Ruida) and driver indicator lights. | Inspect for burnt chips, swollen capacitors, or loose wiring terminals. |
| Cooling & Chiller | Inspect water lines, pump pressure, and internal water quality. | No leaks or hose kinks. Water must be clean (distilled) with coolant temperature maintained under 30°C (86°F). |
| Software & Dongles | Verify included software (EzCad, LightBurn), license keys, and drivers. | Ensure the control board connects smoothly to a test PC without driver errors or missing security dongles. |
Checklist Scoring Guide
| Result | Action Recommended |
|---|---|
| All 6 systems = PASS | Confident purchase or continue normal operation. |
| 1–2 systems = FAIL | Negotiate price based on replacement cost, or request seller to fix before delivery. |
| Laser source < 70% of rated power OR control board damaged | Recommend to walk away — replacement costs often exceed the machine’s residual value. |
Buying a Pre-Owned Laser Machine? Checklist Before You Buy
When inspecting a used laser marking or engraving system on-site:
- Ask for a live test fire at 100% power to measure actual laser degradation.
- Inspect mirrors and lenses for burn marks, scratches, or missing coatings.
- Check X/Y axis linear guide rails for play or mechanical wear.
- Verify that original control software, dongles, and mainboard drivers are included.
Final Checklist for Used Laser Marking Machine Troubleshooting & Purchase
Before finalizing your purchase, always combine the used laser marking machine troubleshooting steps above with a thorough physical inspection. A machine that passes the 100% power test, has clean optics, and responds correctly to software commands will save you from costly repairs.
Remember, most used laser marking machine issues stem from three root causes:
- Aging laser tubes — Output power degrades over time; replacement is often the only fix.
- Dirty optical path components — Smoke buildup and dust absorb beam energy, reducing marking quality.
- Misconfigured software parameters — Incorrect settings can mimic hardware failures.
By systematically working through the 9 troubleshooting steps outlined here, you can confidently evaluate any pre-owned laser engraver and negotiate the best price based on its actual working condition.
Appendix: Quick Reference — Tools You’ll Need
| Tool | Purpose |
|---|---|
| Laser power meter | Measure actual output power of laser source |
| Focus gauge | Re-calibrate Z-axis focal distance |
| Screwdriver set | Tighten lens mounts, belt tensioners, and terminal screws |
| Lint-free wipes & isopropyl alcohol | Clean field lens, focus lens, and mirrors |
| Multimeter | Check power supply voltage and cable continuity |
| Bright flashlight / loupe | Inspect optics for micro-cracks and coating damage |
Appendix: Compatible Systems
| Category | Supported Options |
|---|---|
| Laser Types | Fiber Lasers, CO₂ Lasers, UV Lasers |
| Control Software | EzCad, LightBurn, LaserDRW, EZCAD2 |
| Controller Brands | BJJCZ, Ruida, Trocen, TopWisdom |
| Difficulty Level | Beginner to Intermediate (DIY-friendly) |
